|
phase 2
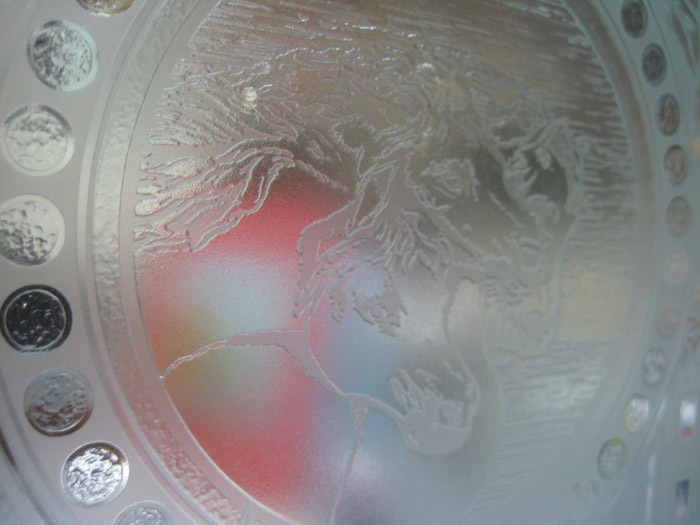
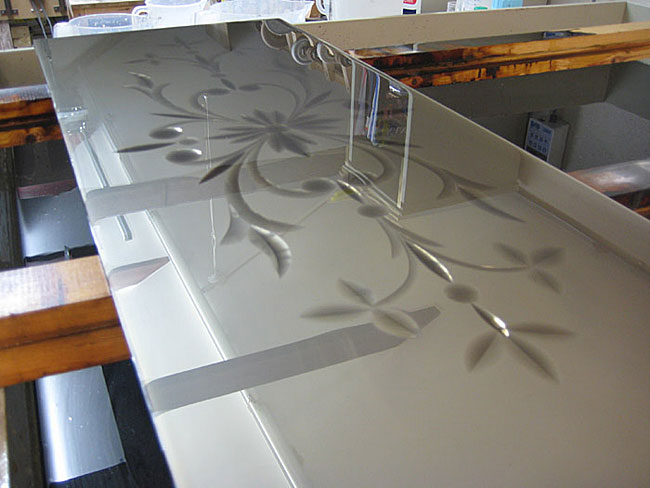
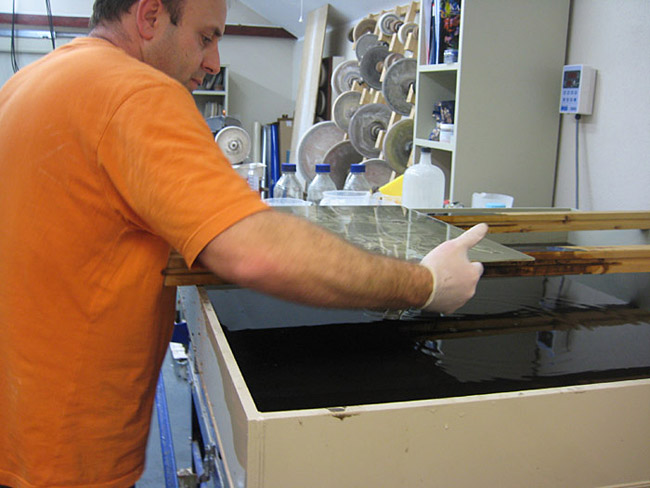
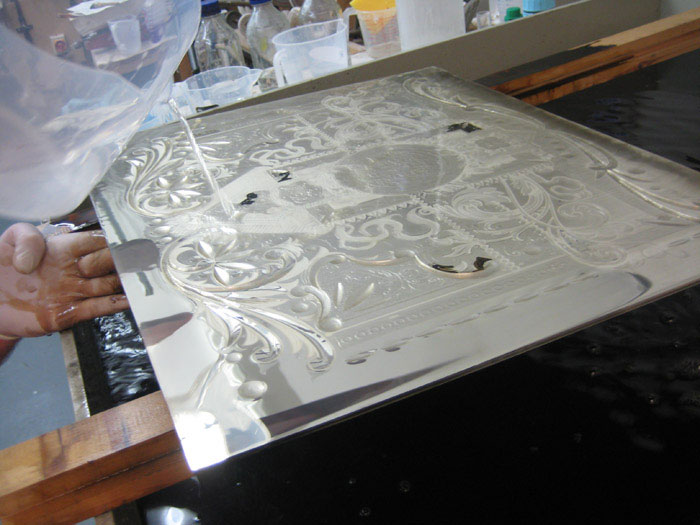
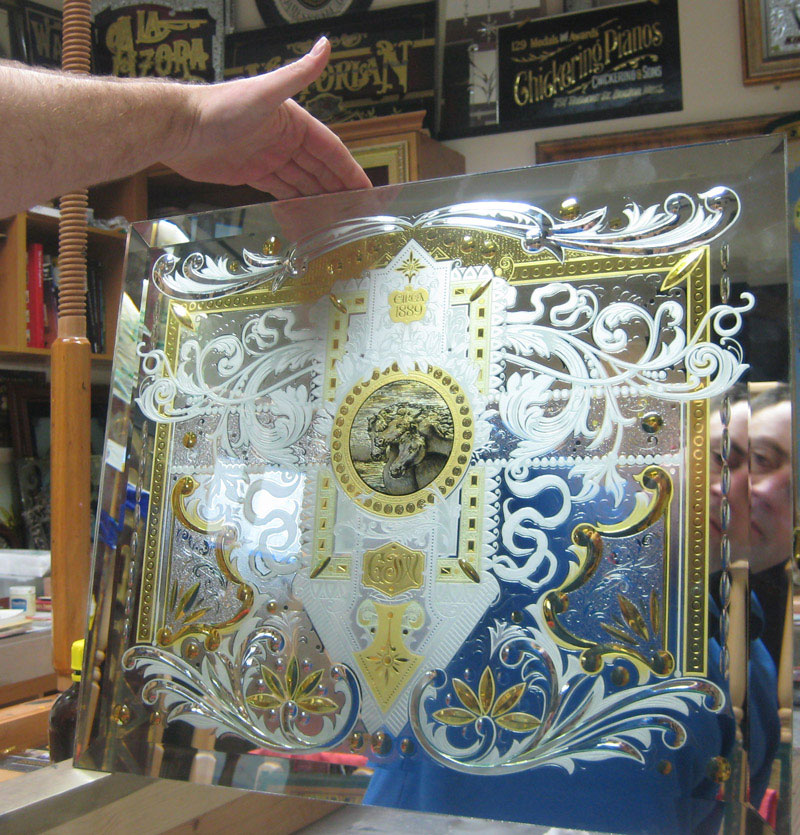
acid etched for 30 minutes 2 acid to 3 water strong mix but enough to get
instant depth to the work.
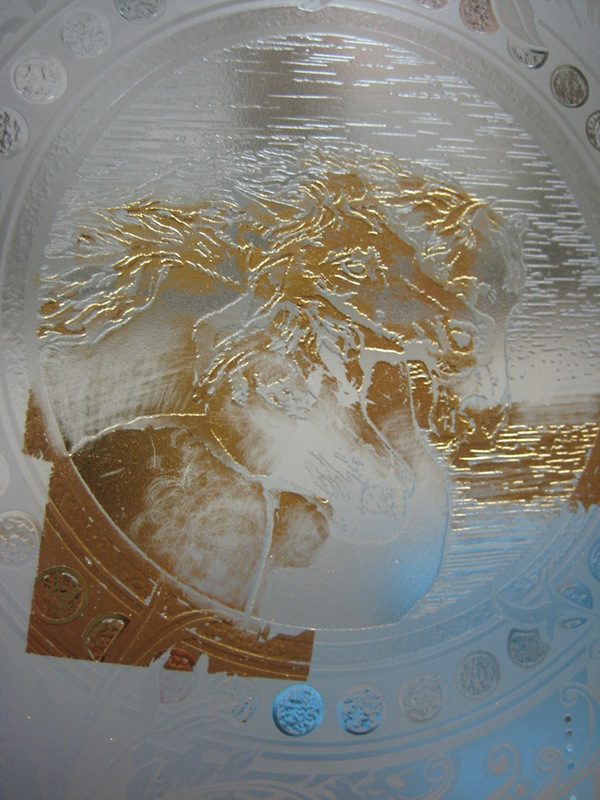
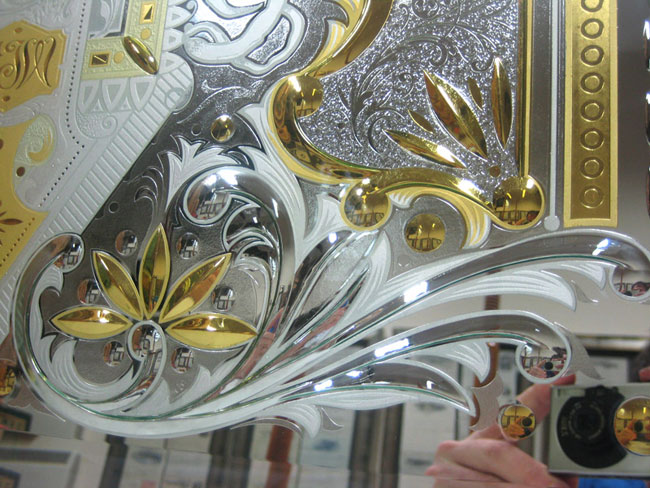
first layers of gold water gilded. scratched areas and shaded using different
tools
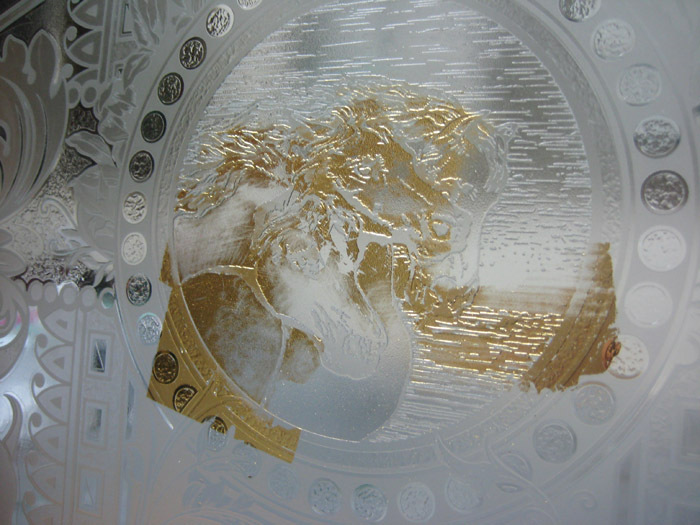
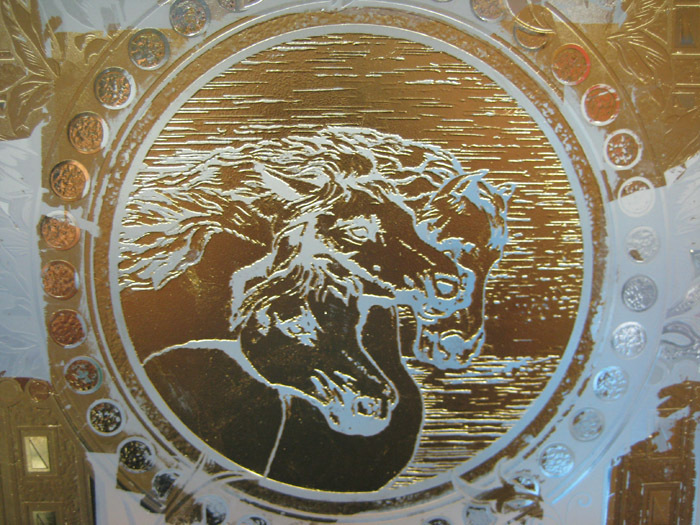
23 crt gold water gilded with the back scraped over using a Stanley blade which
knocks off the highest points of gold leaving the etched gold areas aloan and
makes the clear lines.

more shades of gold added to give highlights in some areas and to make it look
old
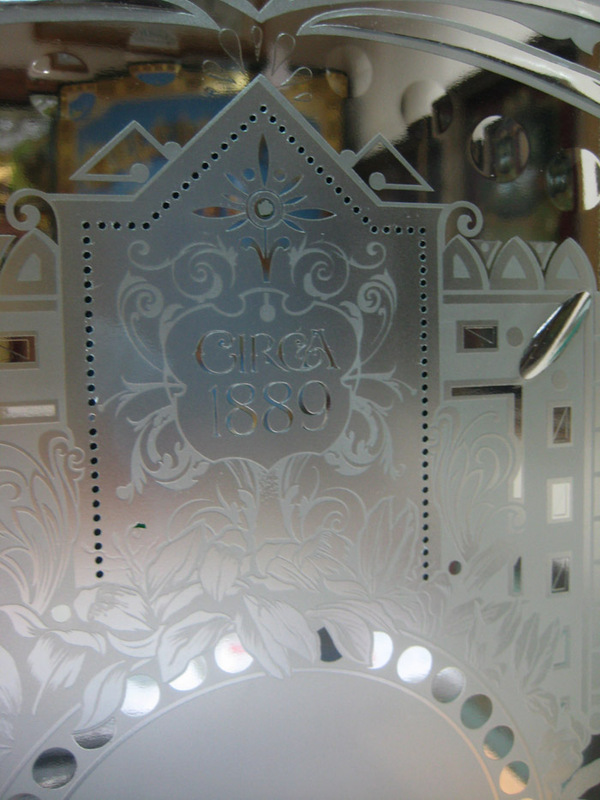
First of all Happy
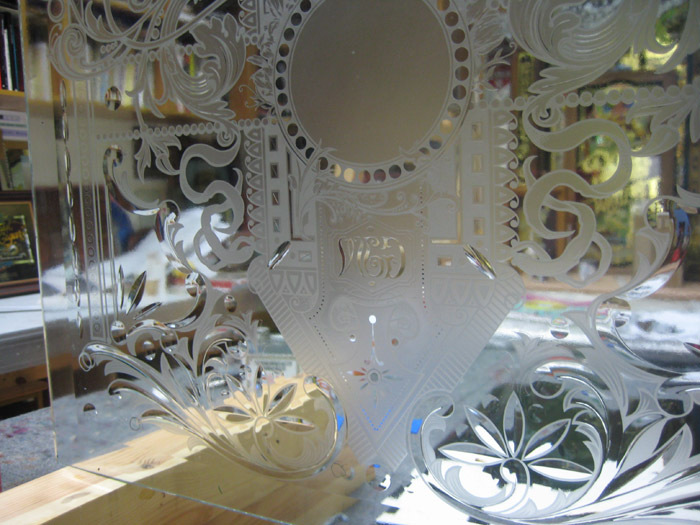
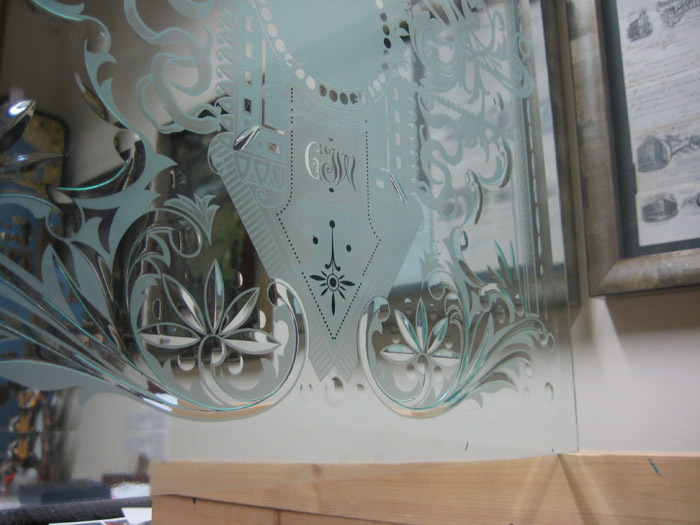
areas recovered and parts removed for acid mica texture.
now I have jumped forward with this shot.The panel is covered with clear vinyl
any areas I choose to etch now would need to be hand cut. On the border you see
mica again with a fine small stipple to it.
2 shades
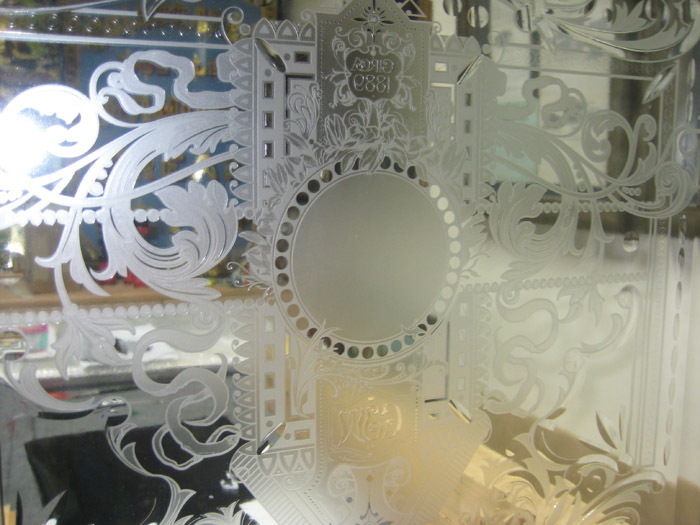
3 shades
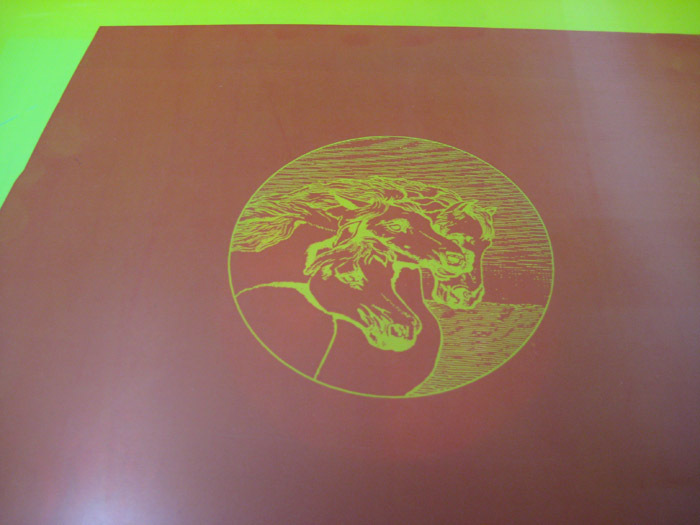
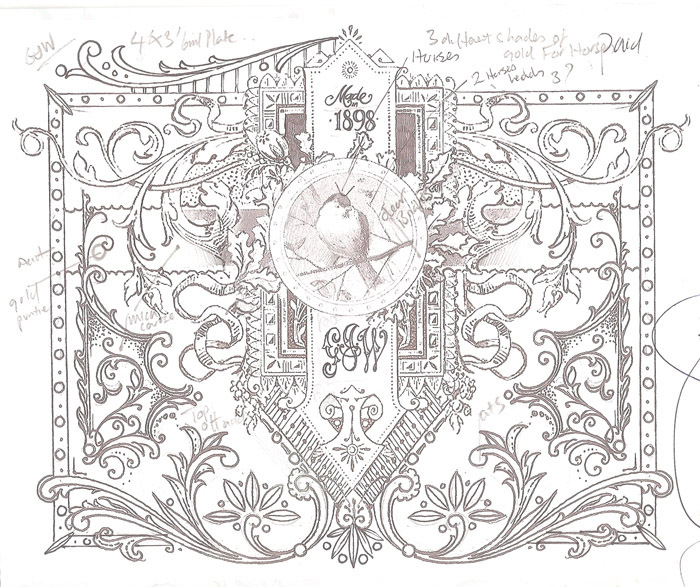
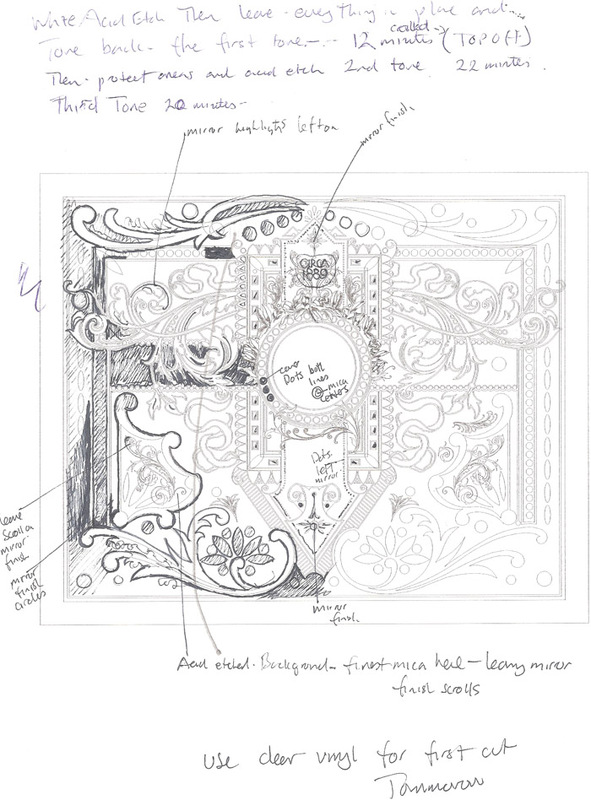
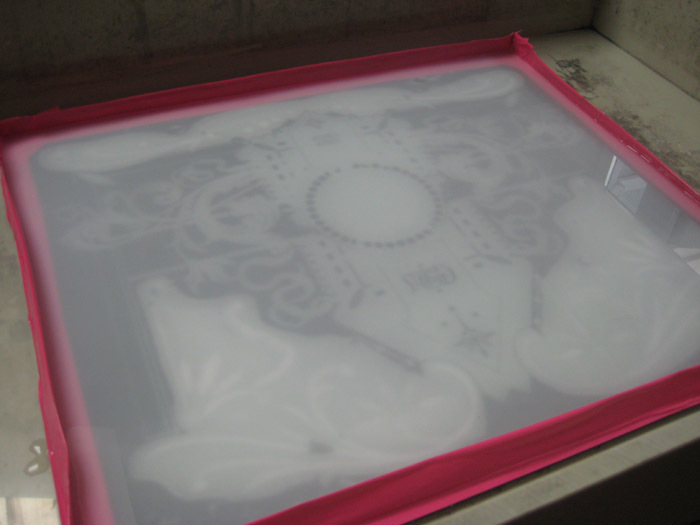
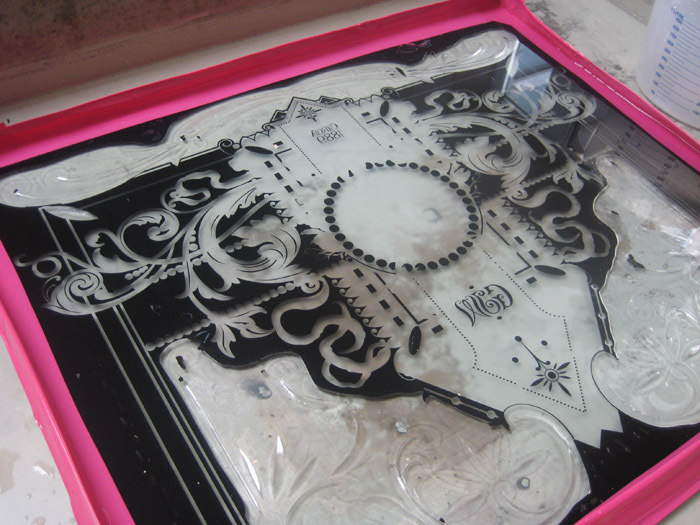
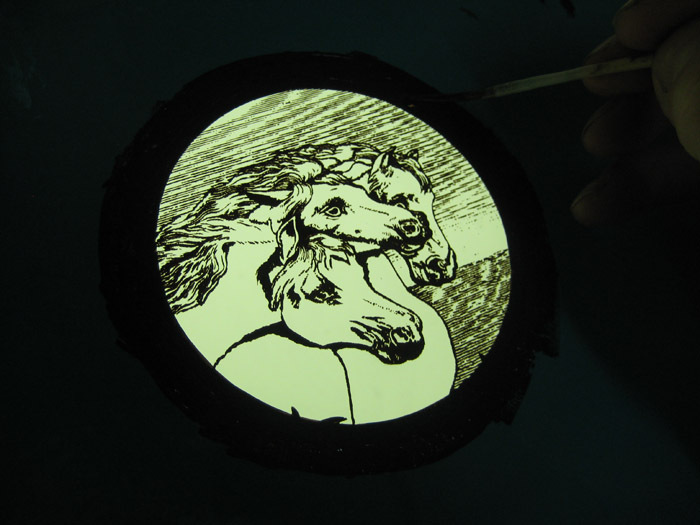
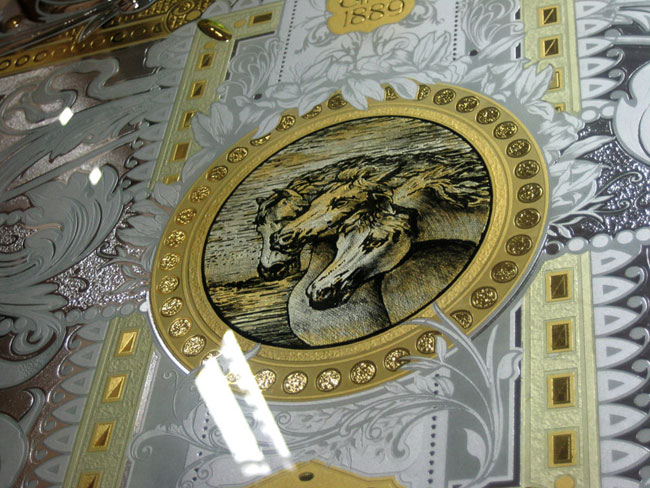
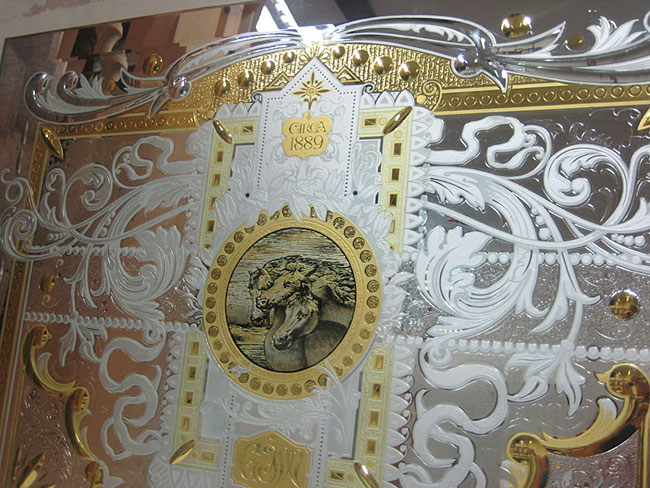
Hand drawn horses and black penned for light exposure for burning to screen
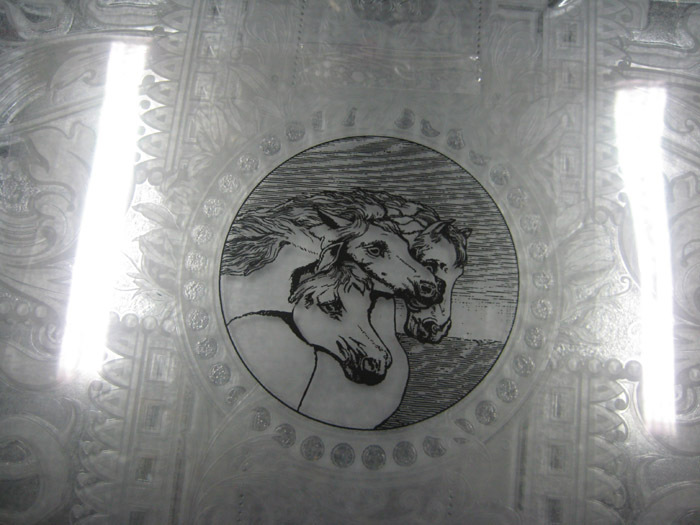
printed 3 times with ashaltum resist paint.The centre section circle was acid
toned for a further 15 minutes to cut back the white tone even further before
the print was made.
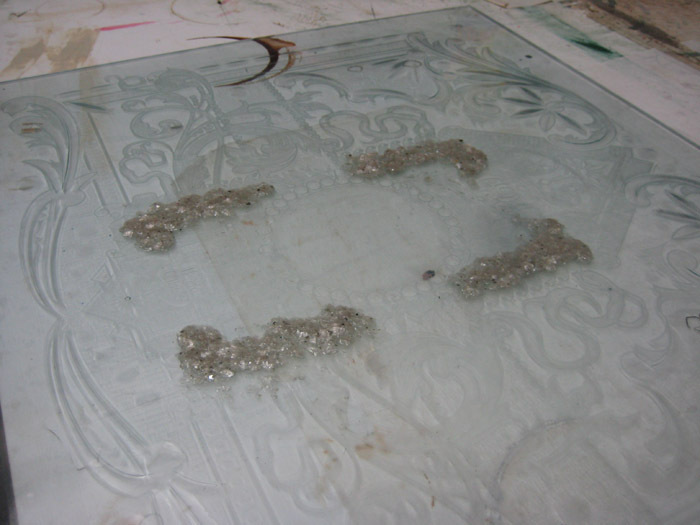
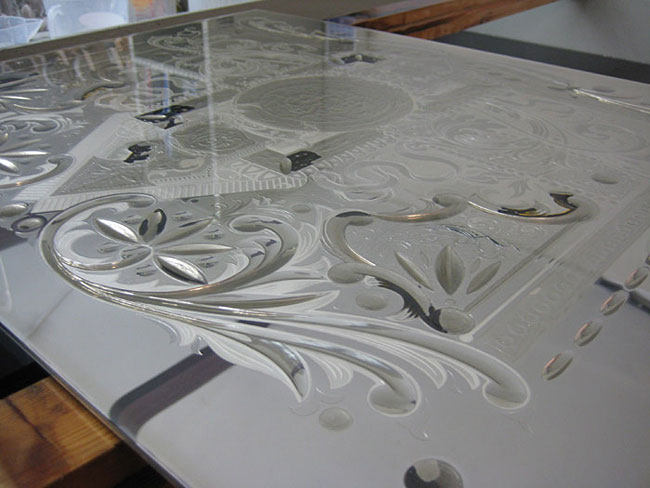
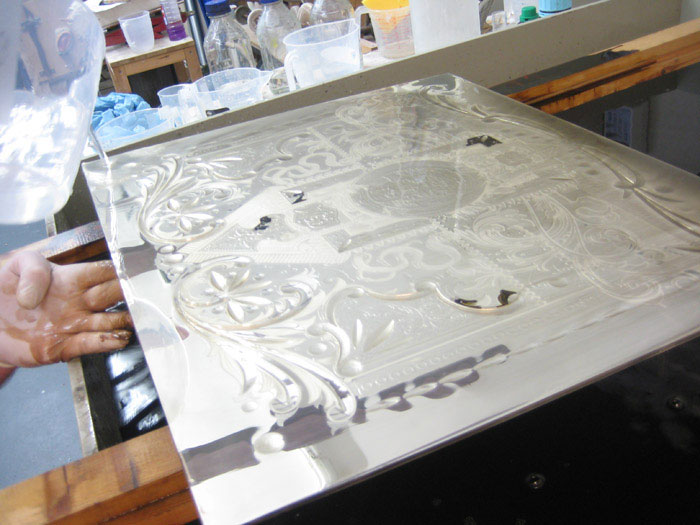
a similar technique to orbital sanding with 3 microns powder prior to acid
etching factory buildings.


|