|
A
Letterville Step By Step By Glenn Taylor |
|
How to put them together for
effective and unique signage. The
following assumes a certain level of knowledge in using Corel Draw and
Corel Photo Paint. All
objects and bitmap images are at 100% size and at 125 DPI.
With thermal printing on a 300dpi print head, a higher DPI count
is unnecessary and ineffective. Client:
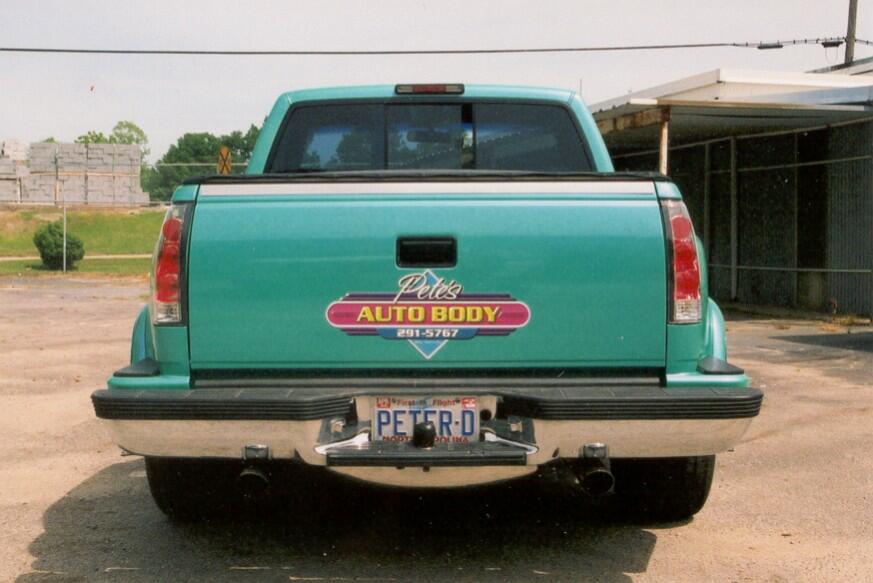
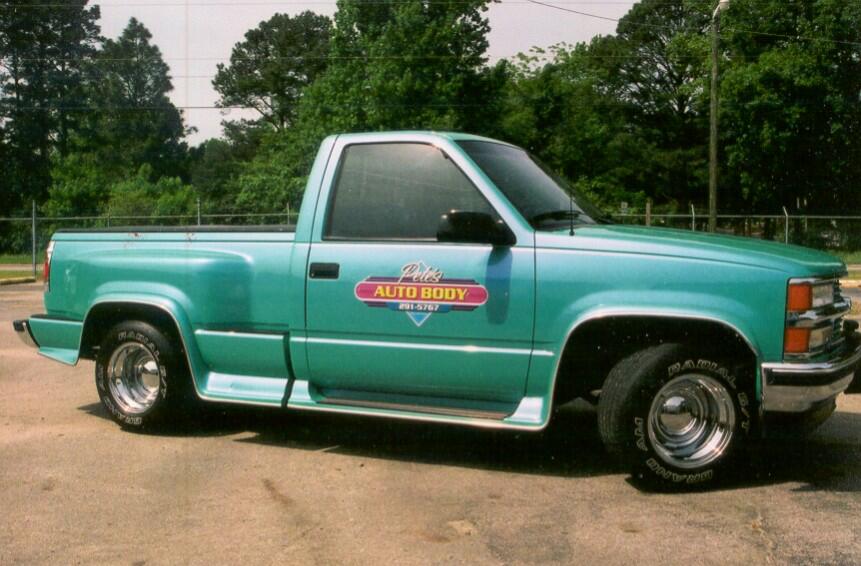
Pete's Auto Body Premise:
Client wants a set of magnetic signs that don't look like the typical
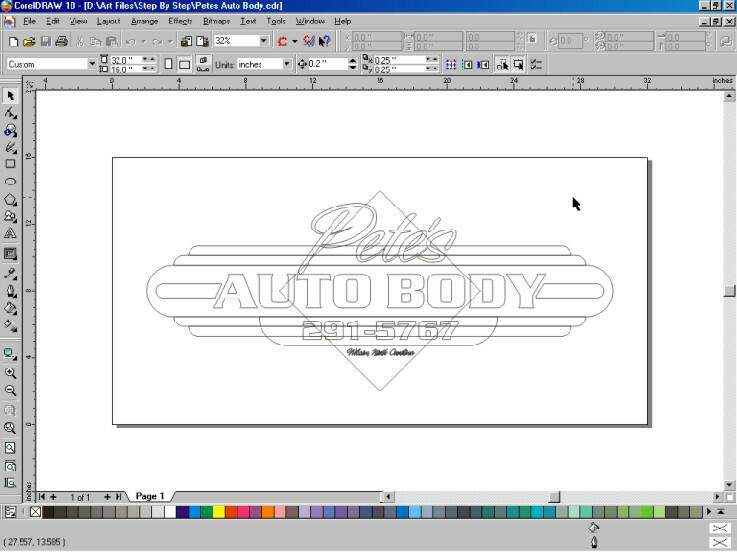
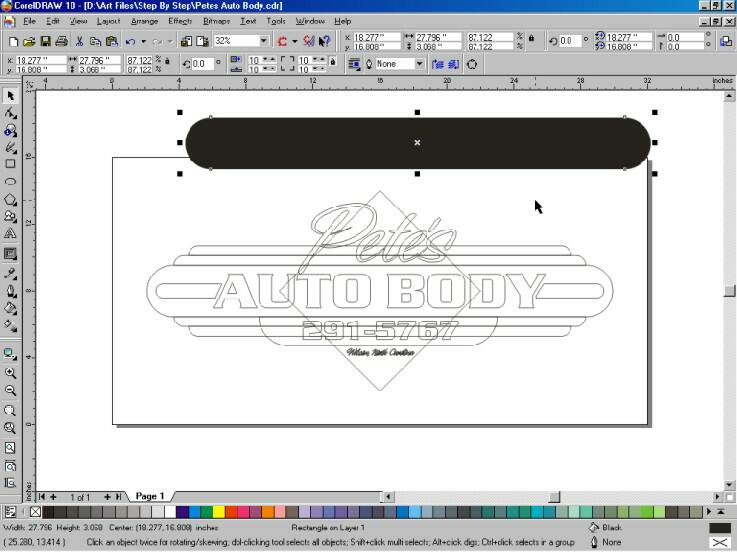
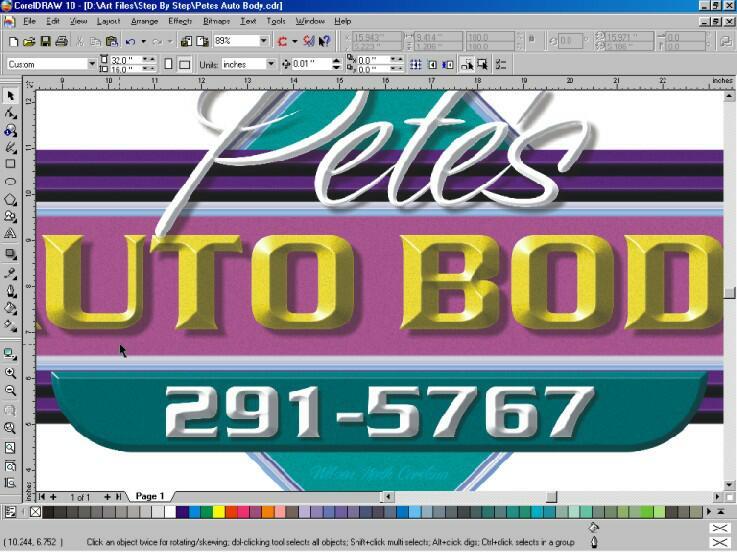
magnetic. 1) Create each of the basic shapes and/or elements that will be used for the sign in Corel Draw. 2)
Select an object and give it a fill (I use black) and make sure
all strokes are turned off. 3)
Click "Copy". 4)
After making a mental note of the overall size of the object,
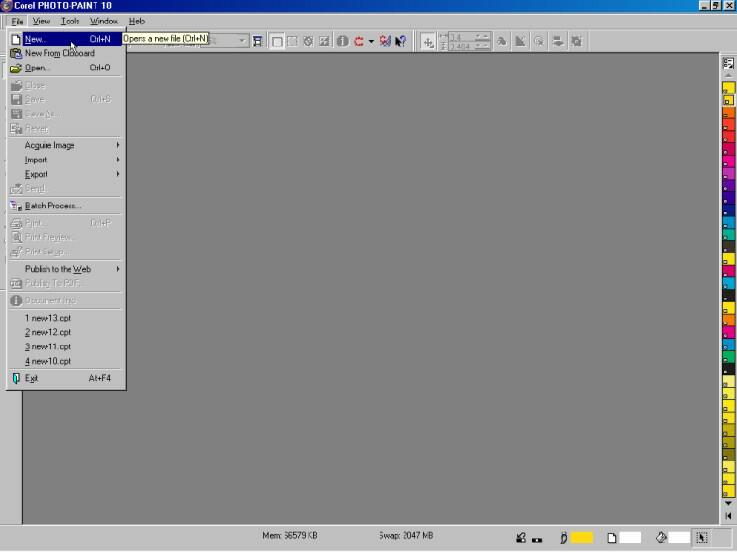
open Corel Photo paint. 5) Open a new page.
6)
When you open a new page, Corel PhotoPaint will ask you for some
parameters. In this case,
Color Mode is set for RGB; No Background is turned on; and the page size
is made a little larger than the object you 7) With the new page zoomed to "Fit to Page", click Paste to bring in the ojbect from Corel Draw. Center the object by pressing Crl+A and selecting "Center of Page".
8)
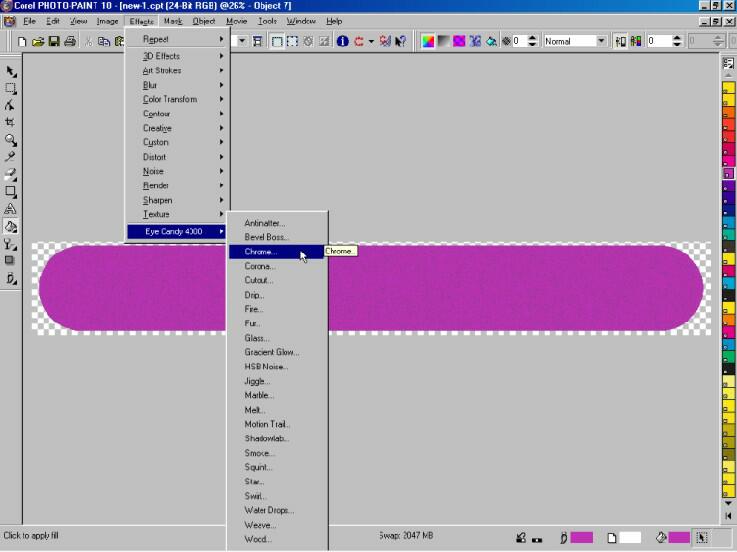
Using the "Paint Bucket", give the object the color
fill of your choice. 9)
Next, you will want to give the object a texture or
"Noise". I
have found that adding "noise" helps to add character and
personality to an object. Also,
it helps to hide or mask printing imperfections that can happen during
the printing process.
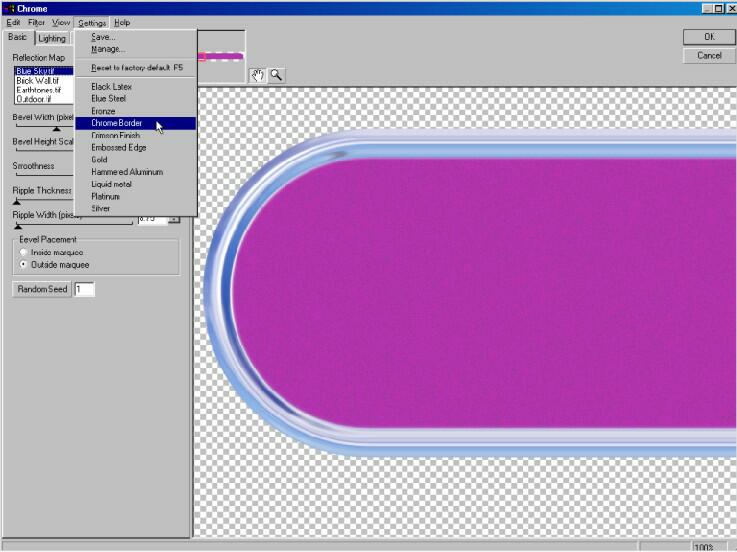
Under the Settings pull down, select Chrome Border.
As with all things in EyeCandy 4000, all of the effects can be
changed to fit your needs quite easily.
However, in this case, we will use the default settings.
Click Ok. 11)
Once the object is the way you want it, save it in PhotoPaint's
native file format - CPT. From
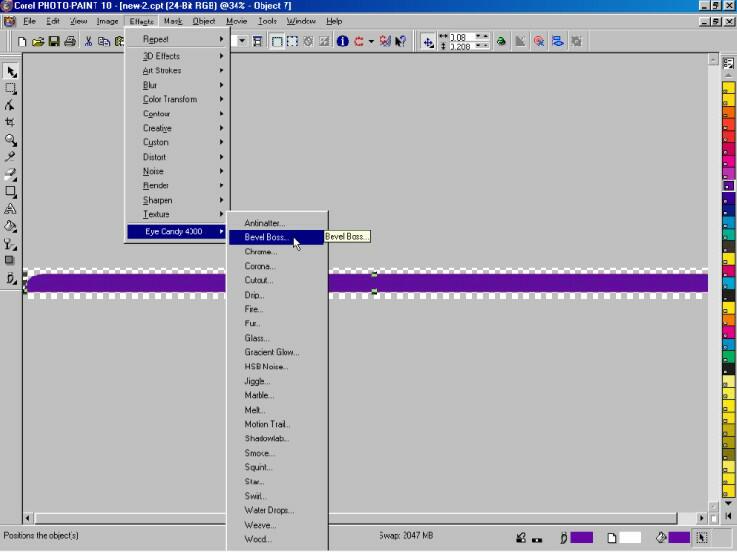
Corel Draw, import the new bitmap image. 12) Repeat the previous steps with each of design elements. After giving each element its respective color fill and noise, some will use EyeCandy 4000's Chrome filter and others will uses its "Bevel Boss" filter.
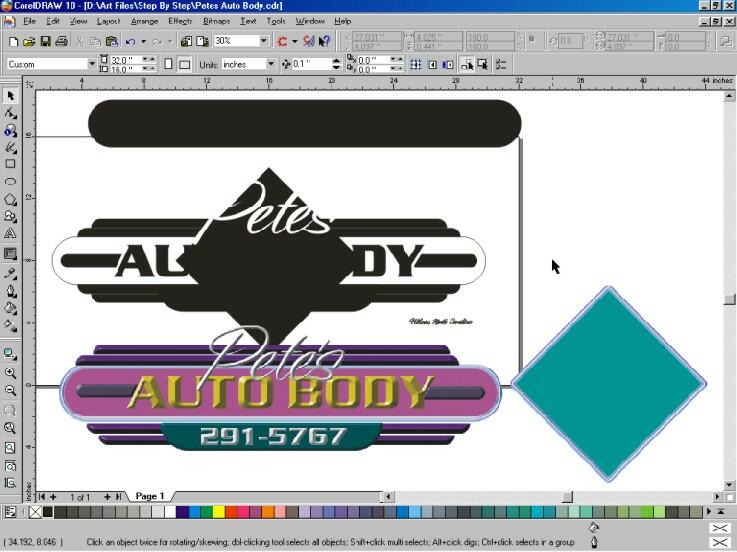
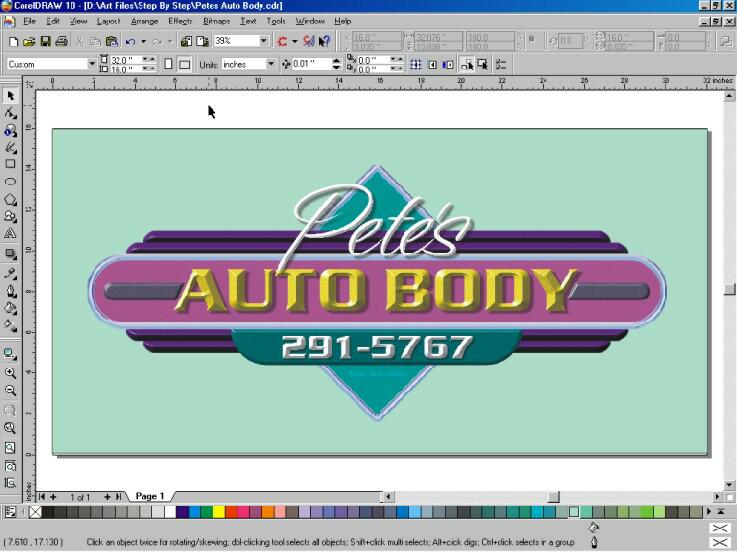
13) After creating all of the necessary design elements, its time to put all the pieces together. I use the original wire image as the template.
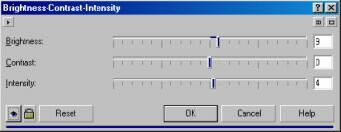
14) You may find some of the elements are too dark or the wrong shade of color. This can be corrected from inside Corel Draw without going back into PhotoPaint.
15)
Next, you will want to use Corel Draw's "Interactive
Shadow" tool to create a photo realistic shadow.
16)
At this point, you will want to go through and tweak the various
objects to your satisfaction. 17) Once you are satisfied, select all of the bitmap images and go "Bitmaps" pull-down menu and click on "Convert to Bitmap." This will combine all of the elements into a single bitmap.
Now
you are ready for printing. 18)
For those with digital printers that have contour cutting
capabilities, don't forget the original vectored design elements.
These can be welded together and used as the tool path for your
plotter. You
are now ready to send the bitmap image to your digital printer.
I recommend exporting the bitmap image as either a TIF or a BMP (rgb)
file. A JPG format will
lose some color information and is not recommended.
|
|
Glenn Taylor
|
|
[ Home | Join Us! | Bulletin Board | Events | Find A Letterhead | Become A Resident | Letterville Merchants ] Copyright © 2001 The Letterhead Website |