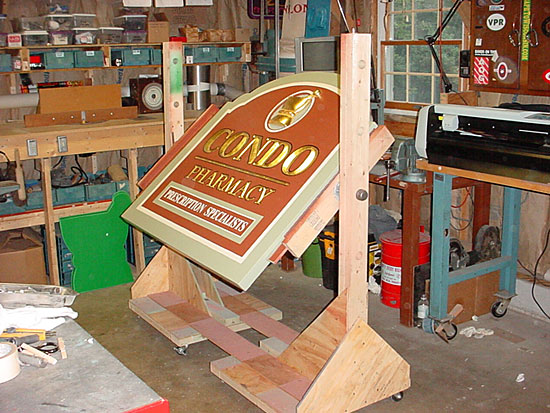
Here is an easel I built a couple of years ago, and I
could not imagine not having it.
It is made from plywood, studs, sheetrock screws, and
some 1" black iron pipe fittings. Solid and sturdy as
can be.
The easle is two pieces, and can fit any sign width. The
two strips of plywood across the bottom join the two
halves together.
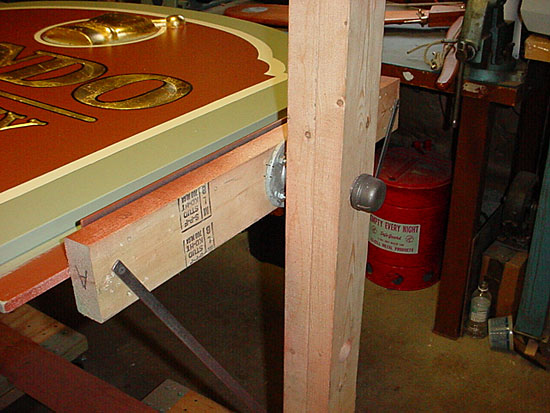
There sign pivots on the pipe fittings. There are
several holes on the uprights to set the sign to
different heights.
The two small angled pieces of flat steel are braces
that keep it at any angle you want (vertical,
horizontal, and everywhere in between)
For double sided signs it's great. Just paint one side,
and flip it over. (great for smalt work ha ha).
I modified it with lights, and an outlet to keep from
having to run extension cords.
The casters swivel in all directions, and it moves
around the shop like Fred Astaire.
I wheel it right into the paint booth for spraying.
When not in use, I seperate the two halves, and it takes
up only 24" x 48" floor space.


I eventually added some
"swing-lamps" with a switch, and outlet, so I don't have
to look far for
an outlet when sanding and routing, and the lighting is
great.
I also built various jigs over the last couple of years
to hold different shaped signs. Two of the photos show a
jig I made to work on 3 identical
signs at the same time. This proved to be invaluable. It
saved a lot of
floor space from having 3 signs on saw horses spread
across the shop, and
I could work on all 3 at once in one spot. "Paint and
rotate!" This jig
for the three signs also works well as a regular angled
easel.
I just couldn't imagine not having this easel. A real
time and space saver.
 A
Letterville Step By Step
A
Letterville Step By Step