|
Eyecandy pretty much does the work for you.
- Pick a Font ( I usually choose a light gray for my text…color will effect your
affect).
- rasterize font. (left click on text layer and choose rasterize layer)
• go to Filters > Eye Candy > Chrome
• from here you can manipulate:
Bevel Width
Bevel Height Scale
Smoothness
Ripple Thickness
Ripple Width
Bevel Placement (inside/outside)
• you can also adjust the lighting and the curves on the bevel profile.
- If you don’t want any of the bevel but you want the chrome, I usually create a
path or a selection around the non-beveled area, select inverse and delete the
bevel.
- You can then go through your image > adjustments to change the hue of your
chrome to a gold, silver, or more chrome.
- Use image > adjustments > color balance
- Or image > adjustments > hue/saturation


The customization comes when you start manipulating the
hue/contrast/highlights/shadows.
This took me about 15 minutes to do all of these...Pretty easy.
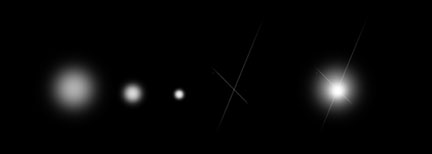
I create three different
sizes of spray on top of each other then with a really small spray I create a
criss cross. You can add layer gradient masks on the criss cross to fade it out.
 |