Hand Routed Step-By-Step
by
Dennis Goddard

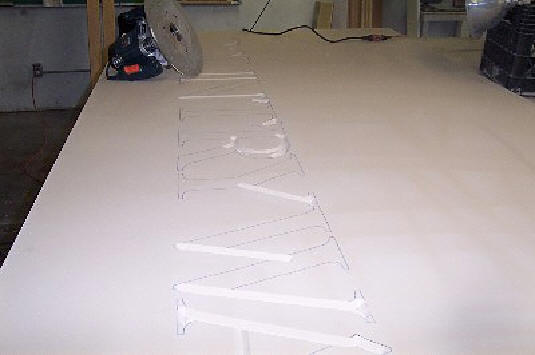
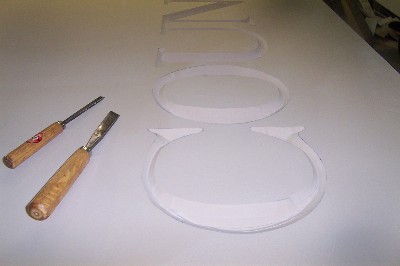
Step 1

First pen plot a pattern and transfer it to the hdu with carbon paper.

I set the bit to a depth that will give me the narrowest lines. I rout those. I then set it to the next wider lines and rout them. It's not that hard to keep it straight, you just have to watch the pattern lines on both sides of the bit at once. It's easier than it sounds. Just remember that if your router is flat as long as you are within your pattern lines you are fine. Anytime your letter starts getting narrower than your bit, just stop. I work my way up to wider and wider parts until the bit is fully extended (if necessary) and then just hog out what you can with the router and get the rest with the chisels. Back when I routed wood I would rout the square corners and not need to chisel after. This was done by tipping the router on its base and pulling it up as you went. Hdu is too easy to rout, there's not enough resistance to do this cleanly. 
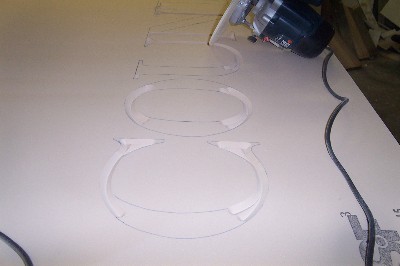
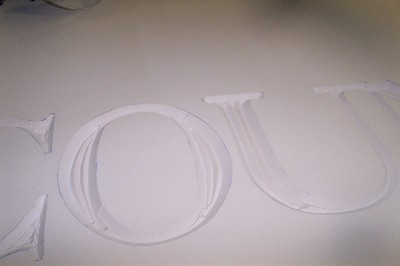
Concave routing with a 45 degree bit is a lot easier than flat routing and looks a thousand times better. One time I had about 50 signs 2' x 8-12' to rout so I made a jig that the blank was against a board at the back. I attached a board at a right angle with a door hinge and routed all the up and down strokes. I then made angled pieces of mdo to set against the board for the angle of the N's, M's, A's, etc. It went pretty quickly.
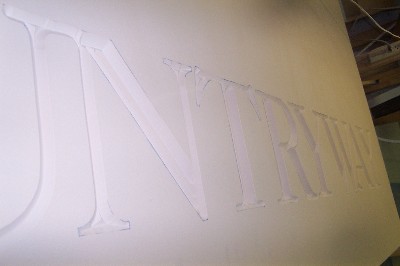
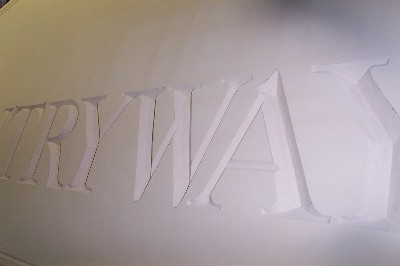
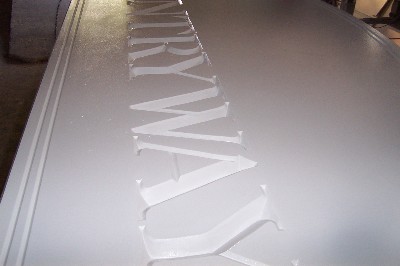
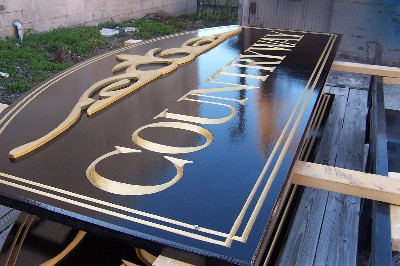
First routs


Second routs


During chiseling.
I use 45 degree chisels to clean up routs.


Step 2....Border and border tool.
I always take off the factory base and attach a 12” round ¼” lexan base on my routers. This piece of mdo is screwed to the base at the correct distance from the edge of the sign. To do the second inset border I just remove one screw and pivot on the other until the distance is correct for the second border. The kidney shape is so I can do curves, if it was flat it would rock on one point and not be consistently the same distance from the edge. The inside curve goes toward the sign. With this big base you can do perfect circles by drilling a hole in the base and pivoting on a nail in the sign. Larger circles are done with an extension added to the base.

After blockout


After black automotive and One Shot gold


The high tech tool is 1/2" mdo. The applique is 1" hdu cut to shape on my band saw and beveled with a hand held router and chisels. The reason for the applique is that the design had places where it was too wide to rout in 1 1/2"foam with standard router bits. I have made custom bits before to get a shallower rout, but the applique was easier. The applique is screwed from the back so it can be removed for future repairs and repainting.

Dennis Goddard owns Excalibur Signs in Tampa Florida email Dennis at xsigngodd@aol.com
 

[ Letterville | Join Us | Bulletin Board | Letterhead PeopleMerchants | More Step-By-Steps ]

Copyright © 2003 The Letterhead Website